Nikon Coolpix L830 User Manual: A Comprehensive Guide
This comprehensive guide details the Nikon Coolpix L830, offering instructions for use and care, available as a downloadable PDF or online resource.
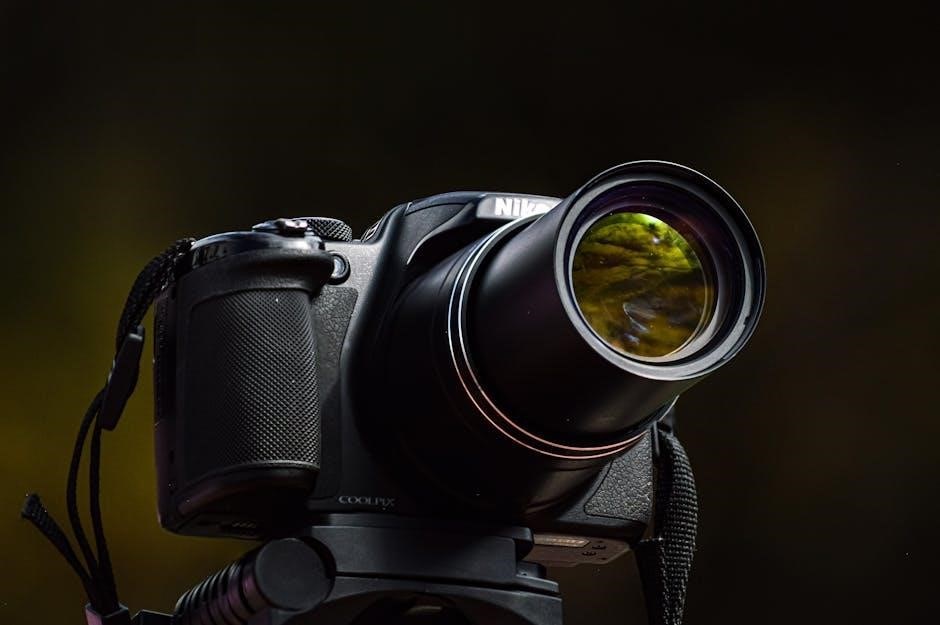
Welcome to the world of the Nikon Coolpix L830! This digital camera is designed for ease of use, offering a powerful 16.1-megapixel sensor and an impressive 30x optical zoom. It’s perfect for capturing stunning photos and high-definition videos of your life’s memorable moments. This manual serves as your guide to unlocking the full potential of your camera, providing detailed instructions on everything from basic operations to advanced features.
Whether you’re a beginner or an experienced photographer, the Coolpix L830 offers a range of shooting modes to suit your needs. Explore the convenience of Auto mode for effortless point-and-shoot simplicity, or delve into the creative control of manual settings. This manual will help you understand and utilize each function effectively. Remember to prioritize safety by carefully reviewing the important safety guidelines included within this document before operating the camera.
About This Manual
This user manual is your dedicated companion for navigating the Nikon Coolpix L830 digital camera. It’s structured to provide a clear and concise understanding of all its features and functions, ensuring you can confidently capture high-quality images and videos. We’ve organized the information logically, progressing from initial setup to advanced shooting techniques and playback options.
Throughout this manual, you’ll find detailed explanations, step-by-step instructions, and helpful tips to maximize your photographic experience. It’s available in PDF format for convenient offline access, or you can browse it online. Please read the important safety guidelines thoroughly before using the camera to ensure safe and proper operation. This manual aims to empower you to fully utilize the capabilities of your Nikon Coolpix L830 and unleash your creativity!
Getting Started
Begin your journey with the Nikon Coolpix L830 by following these initial steps: unboxing, charging, inserting the battery, and adding a memory card.
Unboxing and Initial Setup
Carefully unpack your Nikon Coolpix L830, ensuring all components are present. The box should contain the camera body, a rechargeable battery, a battery charger, a USB cable for data transfer and charging, and this user manual. Inspect each item for any visible damage that may have occurred during shipping.
Before first use, remove any protective films from the LCD screen and lens. Familiarize yourself with the camera’s exterior, noting the location of key buttons and dials – we’ll cover these in detail later. It’s also wise to register your camera online with Nikon to activate your warranty and receive important product updates.
Initial setup involves setting the date, time, and preferred language. These settings can be adjusted through the camera’s menu system, accessible via the menu button. Take a moment to explore the initial menu options to personalize your camera experience.
Charging the Battery
Before initial use, fully charge the supplied rechargeable battery. Locate the battery charger and connect it to a suitable power outlet. Insert the battery into the charger, ensuring the contacts align correctly – a click usually indicates proper insertion. The charger’s indicator light will illuminate, typically red, to signify charging is in progress.
Charging time varies, but typically takes several hours to complete. The indicator light will change color, often to green, when the battery is fully charged. Disconnect the charger from the power outlet and remove the fully charged battery.
Important: Only use the supplied Nikon battery charger. Using third-party chargers may damage the battery or camera. Avoid exposing the battery to extreme temperatures or moisture during charging. A fully charged battery provides ample power for numerous shots.
Inserting the Battery
Locate the battery compartment on the bottom of the Nikon Coolpix L830. You’ll find a compartment cover with a latch. Slide the latch to unlock and open the compartment door. Carefully insert the fully charged battery into the compartment, aligning the battery’s contacts with those inside the camera.
Ensure the battery clicks securely into place. Do not force the battery if it doesn’t slide in easily; double-check the alignment of the contacts. Once the battery is properly inserted, close the battery compartment door and slide the latch to lock it securely.
Confirm the battery indicator on the LCD screen shows power. If the camera doesn’t power on, re-check the battery insertion and ensure it’s fully charged. Proper battery installation is crucial for camera operation.
Inserting Memory Card (SD Card)
Locate the memory card slot on the side of your Nikon Coolpix L830, typically covered by a protective door. Gently open the card slot cover. Insert an SD card (Secure Digital card) into the slot, ensuring the card’s gold contacts are facing downwards and aligned with the slot’s guides.
Push the card in gently until it clicks into place. Avoid forcing the card, as this could damage the card or the camera’s card slot. Once the card is securely inserted, close the memory card slot cover until it clicks shut.
Verify the card is recognized by the camera; a card access indicator will appear on the LCD screen. If the card isn’t recognized, remove and reinsert it, ensuring proper alignment.
Camera Basics & Controls
Understanding the camera’s layout is key; explore buttons, dials, and the menu system for efficient operation and to unlock its full potential.
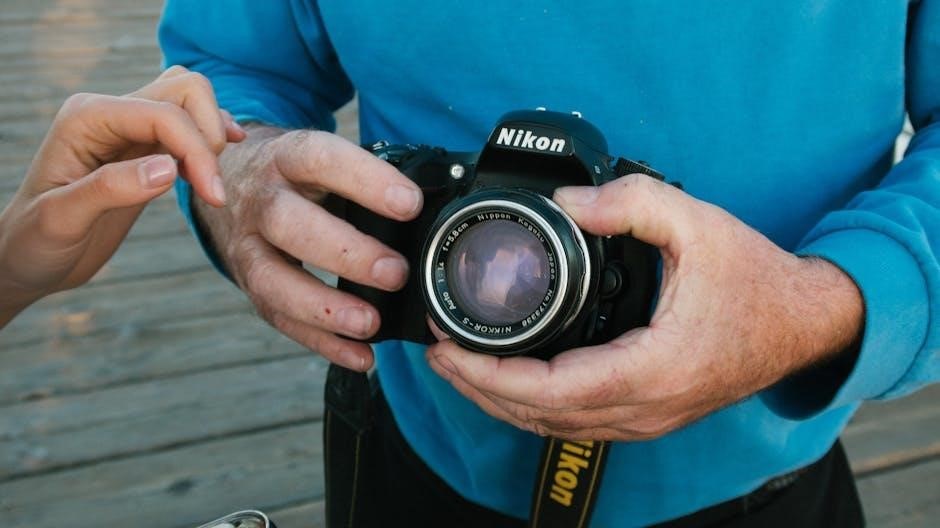
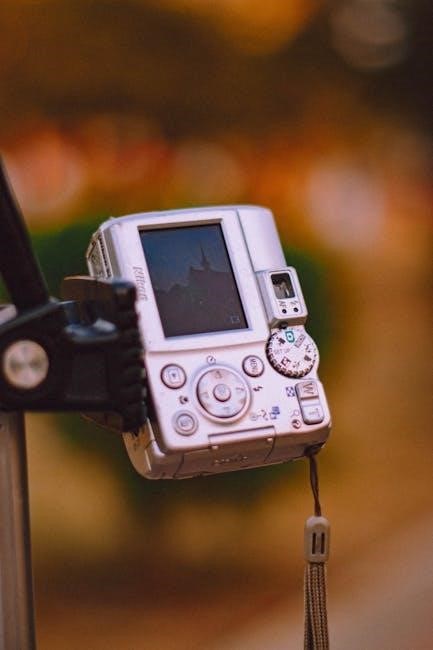
Camera Overview: Buttons and Dials
The Nikon Coolpix L830 features a thoughtfully designed control scheme, allowing for intuitive operation. The power button, located on top, initiates camera functions. Nearby, the shutter button controls image capture, with half-press for focus and full-press for shooting.
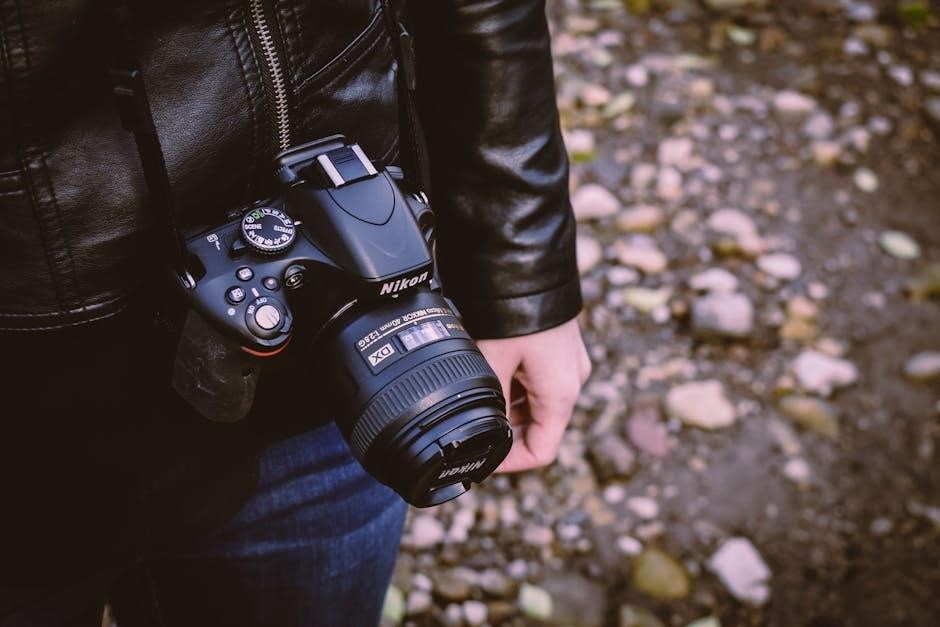
A prominent mode dial selects shooting modes – Auto, Scene, P, S, A, and M – offering varying levels of control. The zoom lever encircles the shutter button, enabling optical zoom adjustments. On the rear panel, a directional pad navigates menus and selects options.
The menu button accesses the camera’s settings, while the display button controls LCD screen information. Dedicated buttons provide quick access to features like flash and scene selection. Familiarizing yourself with these controls is crucial for maximizing your photographic experience with the L830.
Powering On/Off the Camera
To power on the Nikon Coolpix L830, locate the power button typically situated on the top panel of the camera. Press this button firmly; the LCD screen will illuminate, indicating the camera is active and ready for use. A startup sequence may briefly display the Nikon logo.
To power off the camera, repeat the process – press the power button again. The LCD screen will darken, and the camera will enter standby mode. Ensure the camera is fully powered off when not in use to conserve battery life.
Automatic power-off functionality is also present. If the camera remains idle for a predetermined period, it will automatically shut down to save energy. This feature can be adjusted within the camera’s settings menu for personalized control.
Mode Dial Explained: Auto, Scene, P, S, A, M
The Mode Dial on the Nikon Coolpix L830 offers various shooting modes for different scenarios. Auto mode simplifies photography, letting the camera handle all settings. Scene modes (Portrait, Landscape, Sports, Night Portrait, etc.) optimize settings for specific subjects.
Program Auto (P) mode allows semi-automatic control, where the camera sets aperture and shutter speed, but you can adjust other settings. Shutter Priority (S) mode lets you control shutter speed for motion blur or freezing action.
Aperture Priority (A) mode allows control over depth of field, influencing how much of the image is in focus. Finally, Manual (M) mode grants full control over both aperture and shutter speed, offering maximum creative flexibility for experienced photographers.
Navigating the Menu System
The Nikon Coolpix L830’s menu system is accessed via the MENU button on the camera’s rear panel. It’s organized into several tabs, represented by icons, for easy navigation. These tabs typically include Shooting Settings, Flash Settings, Image Quality, Setup, and others.
Use the directional pad (up, down, left, right buttons) to highlight menu options and press the OK button to select. To return to the previous menu, press the MENU button again. The menu structure is designed to be intuitive, allowing you to quickly adjust camera settings.
Pay attention to the on-screen explanations provided for each setting. Exploring the menu is crucial for understanding and utilizing the full range of features available on your Coolpix L830.
Shooting Modes & Settings
Explore diverse shooting options, from fully automatic simplicity to manual control, tailoring settings for portraits, landscapes, sports, and various photographic scenarios.
Auto Mode: Point-and-Shoot Simplicity
Auto mode on the Nikon Coolpix L830 is designed for effortless photography, ideal for beginners or situations demanding quick capture. The camera automatically determines the optimal settings – aperture, shutter speed, ISO, and white balance – based on the scene. This eliminates the need for manual adjustments, allowing you to simply point and shoot.
To utilize Auto mode, simply set the mode dial to ‘Auto’. The camera intelligently analyzes the scene, selecting the most appropriate settings for well-exposed and vibrant images. It’s perfect for everyday snapshots, travel photography, or any scenario where convenience is paramount. While offering simplicity, Auto mode may not always yield the most creative control, but it consistently delivers reliable results with minimal effort. It’s a fantastic starting point for exploring the camera’s capabilities.
Scene Modes: Portrait, Landscape, Sports, Night Portrait, etc.
The Nikon Coolpix L830 offers a variety of Scene modes, pre-programmed settings optimized for specific shooting conditions. These modes simplify photography by automatically adjusting camera settings for best results. Portrait mode softens backgrounds and enhances skin tones for flattering portraits. Landscape mode maximizes depth of field, ensuring sharp details throughout the scene.
Sports mode utilizes faster shutter speeds to freeze motion, ideal for capturing action shots. Night Portrait mode balances flash with a slower shutter speed, illuminating subjects while preserving background details. Other available modes include Beach, Snow, Museum, Fireworks, and more. To select a Scene mode, rotate the mode dial to ‘Scene’ and then navigate the menu to choose the desired setting. These modes provide a convenient way to achieve professional-looking results without manual adjustments.
Program Auto (P) Mode: Semi-Automatic Control
Program Auto (P) mode on the Nikon Coolpix L830 offers a balance between automatic convenience and manual control. While the camera automatically selects the appropriate aperture and shutter speed for optimal exposure, it allows you to adjust other settings like ISO sensitivity, white balance, and exposure compensation; This mode is ideal for photographers who want creative control without the complexity of fully manual settings.
In P mode, you can fine-tune the exposure to achieve your desired look. Exposure compensation allows you to brighten or darken the image, while adjusting ISO impacts image noise and low-light performance. White balance ensures accurate color reproduction under different lighting conditions. P mode provides a stepping stone towards mastering manual controls, offering a flexible and versatile shooting experience.
Shutter Priority (S) Mode: Controlling Shutter Speed
Shutter Priority (S) mode on the Nikon Coolpix L830 empowers you to dictate the shutter speed, directly influencing motion blur and image sharpness. The camera automatically adjusts the aperture to achieve proper exposure based on your chosen shutter speed. This mode is invaluable for capturing fast-moving subjects or creating intentional motion blur effects.
Faster shutter speeds freeze action, perfect for sports or wildlife photography, while slower shutter speeds blur motion, ideal for conveying a sense of movement or creating light trails. Understanding the relationship between shutter speed and aperture is key to mastering this mode. Remember that slower shutter speeds require a steady hand or a tripod to avoid camera shake, ensuring crisp, clear images. Experiment with different shutter speeds to unlock your creative vision.
Aperture Priority (A) Mode: Controlling Depth of Field
Aperture Priority (A) mode on your Nikon Coolpix L830 grants you control over the aperture, directly impacting the depth of field – the area of your image that appears in focus. The camera automatically selects the shutter speed to maintain proper exposure, based on your aperture setting. A wider aperture (lower f-number, like f/2.8) creates a shallow depth of field, blurring the background and isolating your subject, perfect for portraits.
Conversely, a narrower aperture (higher f-number, like f/8 or f/11) yields a greater depth of field, keeping more of the scene in focus, ideal for landscapes. Mastering aperture allows you to creatively emphasize specific elements within your composition. Consider the scene and desired effect when choosing your aperture setting for optimal results and artistic expression.
Manual (M) Mode: Full Control
Manual (M) mode on the Nikon Coolpix L830 unlocks complete creative control, allowing you to independently set both the aperture and shutter speed. This mode bypasses the camera’s automatic settings, demanding a thorough understanding of exposure principles. You’ll need to balance aperture (controlling depth of field) and shutter speed (controlling motion blur) to achieve the desired brightness and artistic effect.
Utilize the camera’s light meter as a guide, adjusting settings until the indicator reaches the center. Manual mode is ideal for challenging lighting conditions or when you want to precisely replicate a specific look. While requiring practice, mastering M mode empowers you to fully realize your photographic vision and overcome limitations of automatic modes, resulting in truly personalized images.
Advanced Features & Settings
Explore advanced settings like zoom, image quality, ISO, white balance, and focus modes to refine your photography and unlock the L830’s potential.
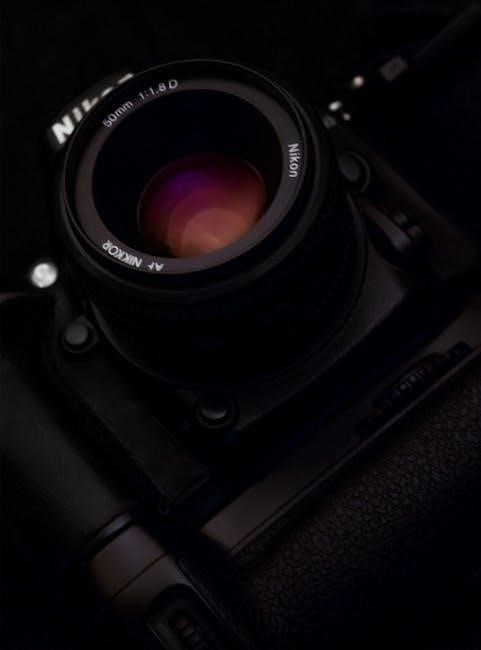
Zoom Functionality & Optical Zoom
The Nikon Coolpix L830 boasts a powerful optical zoom, allowing you to get closer to your subject without sacrificing image quality. Unlike digital zoom, which simply enlarges the image and can result in pixelation, optical zoom utilizes the lens’s physical focal length to magnify the scene;
This camera features an impressive 30x optical zoom, providing a versatile range for various shooting scenarios – from wide-angle landscapes to distant wildlife. Utilizing the zoom lever around the shutter button, you can smoothly transition between focal lengths. Be mindful that using extreme zoom levels can sometimes introduce slight camera shake; consider using a tripod or enabling image stabilization for sharper results.
The L830 also offers Digital Zoom, which extends the zoom range further, but remember that image quality will decrease as you increase the digital zoom factor. Experiment with both optical and digital zoom to find the optimal balance between magnification and clarity for your specific photographic needs.
Image Quality Settings: Resolution & Compression
The Nikon Coolpix L830 allows you to customize image quality through resolution and compression settings, impacting file size and detail. Higher resolutions capture more detail, ideal for large prints or cropping, but result in larger file sizes. Lower resolutions are suitable for web sharing or when storage space is limited.
You can choose from several resolution options, typically measured in megapixels. Compression settings, such as Fine, Normal, and Basic, further control file size. ‘Fine’ offers the highest quality with the largest files, while ‘Basic’ provides the smallest files with some loss of detail.
Experimenting with these settings is crucial to finding the right balance for your needs. For important photos, prioritize ‘Fine’ compression and a higher resolution. For casual snapshots, ‘Normal’ or ‘Basic’ compression and a lower resolution may suffice, saving valuable memory card space.
ISO Sensitivity Settings
ISO sensitivity determines the camera’s sensitivity to light. Lower ISO settings (e.g., ISO 80, 100) are ideal for bright conditions, producing cleaner images with less noise. Higher ISO settings (e.g., ISO 800, 1600, 3200) are necessary in low-light situations, allowing for faster shutter speeds to prevent blur.
However, increasing the ISO also increases image noise – a grainy appearance. The Nikon Coolpix L830 offers an Auto ISO mode, which automatically selects the optimal ISO setting based on the lighting conditions. This is a convenient option for general shooting.
For more control, you can manually adjust the ISO. When shooting in low light, start with a higher ISO and gradually decrease it until you achieve a good balance between brightness and noise. Understanding ISO is key to capturing clear, well-exposed images in various lighting scenarios.
White Balance Adjustment
White balance (WB) ensures accurate color reproduction by compensating for different lighting conditions. Different light sources (sunlight, incandescent, fluorescent) emit varying color temperatures, which can affect how colors appear in your photos. Incorrect white balance can result in images with a color cast – appearing too warm (yellowish) or too cool (bluish).
The Nikon Coolpix L830 offers several WB presets, including Auto, Daylight, Cloudy, Fluorescent, and Incandescent. Auto WB generally performs well, but for critical shots, selecting the appropriate preset yields better results. A custom WB setting allows you to manually set the white balance using a white or gray card for maximum accuracy.
Experimenting with WB settings can also create artistic effects. Properly adjusted white balance delivers natural-looking colors, enhancing the overall quality of your images.
Focus Modes: Auto, Macro, Manual Focus
The Nikon Coolpix L830 provides versatile focusing options to suit various shooting scenarios. Auto Focus is the default, quickly and automatically locking focus on the subject within the frame. It’s ideal for general photography where speed is essential. Macro Mode, symbolized by a flower icon, enables close-up photography, allowing you to capture intricate details of small subjects.
When using Macro mode, the camera focuses at a shorter distance than in Auto mode. Manual Focus (MF) grants complete control over focusing, useful for precise adjustments or when autofocus struggles in challenging conditions like low light or through glass.
Switching between modes is done through the camera’s menu. Understanding each mode’s strengths ensures sharp, well-focused images in any situation.
Playback & Connectivity
Review captured images on the LCD screen, delete unwanted photos, and easily connect your Nikon Coolpix L830 to a computer via USB for photo transfer.
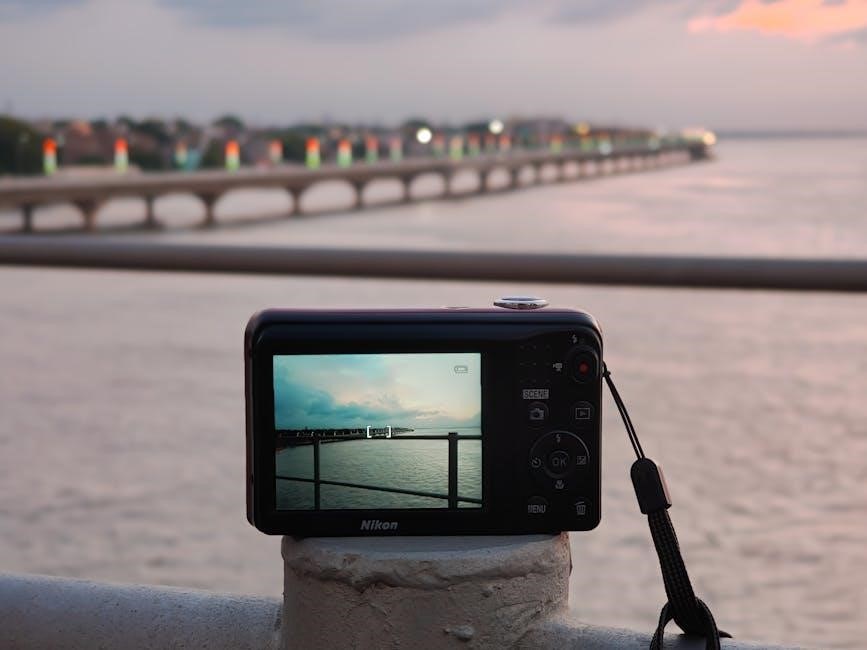
Viewing Images on the LCD Screen
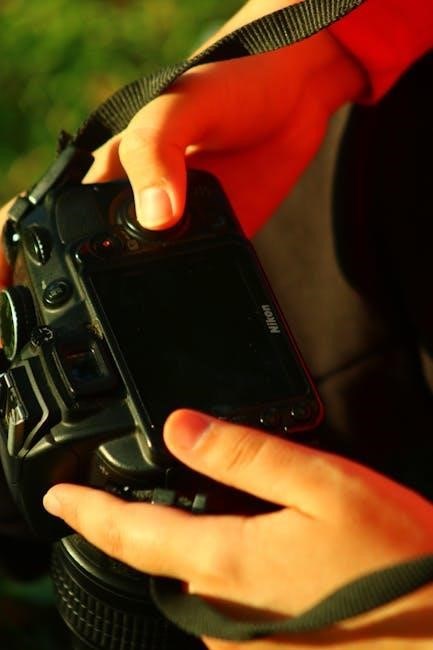
The Nikon Coolpix L830 features a bright LCD screen for convenient image review immediately after capture. To begin playback, press the playback button – typically indicated by a triangle symbol – on the camera’s back panel. This will switch the camera from shooting mode to playback mode, displaying the most recently taken photograph.
Navigate through your images using the left and right buttons on the directional pad. Zoom in on details within a photo by using the zoom lever towards the ‘T’ (telephoto) side; zoom out using the ‘W’ (wide) side. Pressing the ‘OK’ or central button often displays additional information, such as shooting settings and date.
Utilize the display mode button to cycle through different viewing options, including displaying shooting information, a histogram for exposure analysis, or a full-screen view without any overlays. The menu button within playback mode provides access to further options like image rotation, slideshow creation, and deletion functions.
Deleting Images
Deleting unwanted photos from your Nikon Coolpix L830 is straightforward within playback mode. First, ensure you are in playback mode by pressing the playback button (triangle symbol). Use the directional buttons to navigate to the image you wish to remove.
To delete a single image, press the menu button and select the delete option – often represented by a trash can icon. The camera will then ask for confirmation; select ‘Yes’ to permanently delete the image. To delete multiple images, access the delete option in the menu and choose ‘Select Multiple’.
Use the directional buttons to highlight images for deletion, and press ‘OK’ to mark them. Repeat this process for all desired images, then confirm the deletion. Be cautious, as deleted images are typically unrecoverable. Regularly backing up your photos to a computer is highly recommended to prevent accidental data loss.
Connecting to a Computer via USB
Connecting your Nikon Coolpix L830 to a computer via USB allows for easy photo transfer and potential charging. Locate the USB port on the camera, usually protected by a rubber cover. Using a standard USB cable (often a Mini-USB), connect one end to the camera and the other to a USB port on your computer.
Once connected, the camera will likely power on automatically or prompt you to select a connection mode. Choose ‘MTP’ (Media Transfer Protocol) or ‘PTP’ (Picture Transfer Protocol) from the options displayed on the camera’s LCD screen. These modes allow your computer to recognize the camera as a storage device.
Your computer should then detect the camera as a removable drive. You can then browse the camera’s internal storage or SD card to access your photos and videos. Ensure the camera remains powered on during the transfer process. Safely eject the camera from your computer before disconnecting the USB cable.
Transferring Photos to a Computer
After connecting your Nikon Coolpix L830 via USB, transferring photos to your computer is straightforward. Once the camera is recognized as a removable drive, open File Explorer (Windows) or Finder (Mac). Locate the camera’s drive and navigate to the DCIM folder – this is where your photos and videos are typically stored.
You can then copy and paste the desired files to a folder on your computer, or drag and drop them directly. Alternatively, utilize photo management software like Nikon Transfer or similar programs for organized importing and potential editing options. These programs often offer features like automatic renaming and folder structuring.
Ensure sufficient storage space is available on your computer before initiating the transfer. Larger transfers may take some time, depending on the number and size of the files. Always safely eject the camera from your computer before disconnecting the USB cable to prevent data corruption.